How to Install Laravel Breeze in Laravel 11
Hello developers, in this article we'll install Laravel Breeze in laravel 11. Laravel Breeze is a minimal, simple implementation of all of Laravel's authentication features, including login, registration, password reset, email verification, and password confirmation.
Laravel Breeze's default view layer is made up of simple Blade templates styled with Tailwind CSS.
In this article, we'll see step by step-by-step guide to installing Laravel Breeze in laravel 11.

In this step, we'll install laravel 11 using the following composer command.
composer create-project laravel/laravel laravel-11-example
Then, we'll install Breeze using the following command.
composer require laravel/breeze
After that, we'll install Laravel Breeze for authentication. This command publishes the authentication views, routes, controllers, and other resources to your application.
php artisan breeze:install

php artisan migrate
npm install
npm run dev

Now, run the laravel 11 application using the following command.
php artisan serve
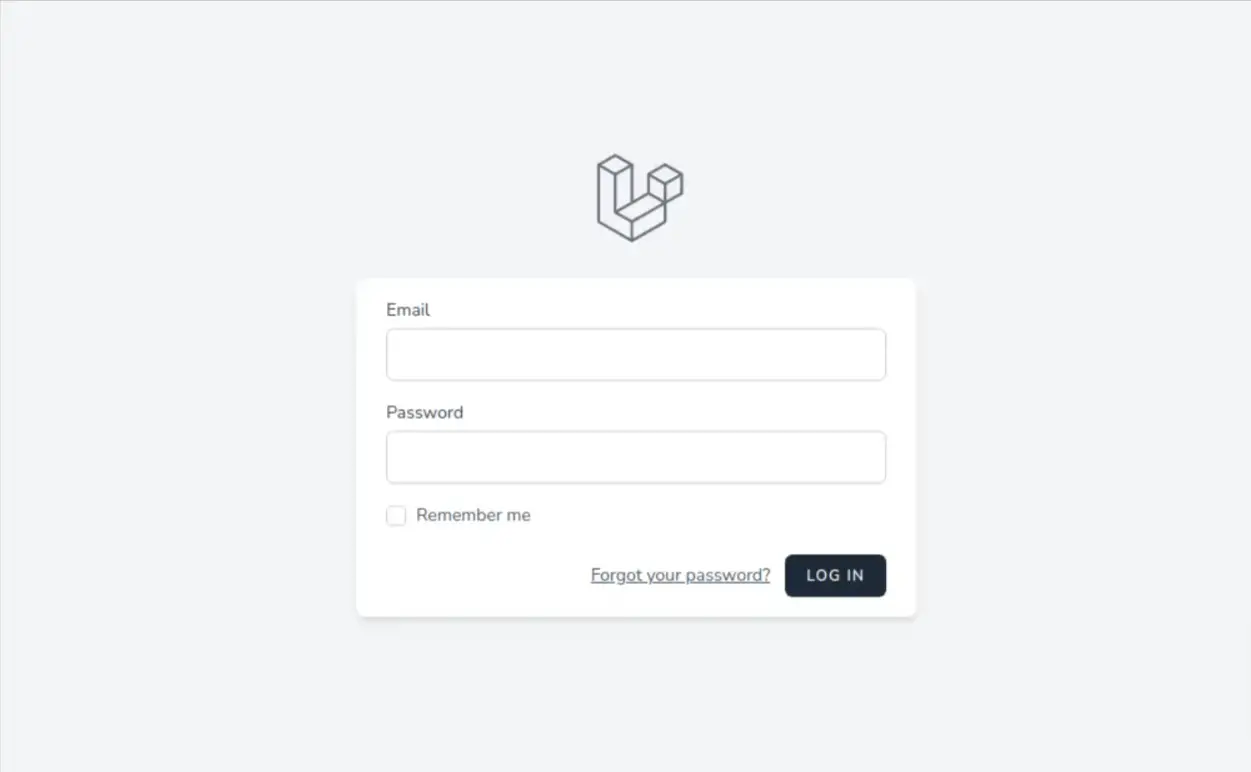
Login Page

You might also like:
- Read Also: How to Multiple File Upload in Laravel 11
- Read Also: How To Override Auth Login Method In Laravel 10
- Read Also: Laravel 10 REST API With Passport Authentication
- Read Also: How to Create Bootstrap Auth Scaffolding in Laravel 11


