Step by Step Guide: How to Install Laravel 11
Hey there! So, you're ready to dive into the wonderful world of Laravel 11, huh? Well, you're in for a treat! Laravel is an amazing PHP framework that makes web development a breeze. Let's get started with the installation process, shall we? Here's a step-by-step guide, explained in simple terms:
So, in this article we'll see how to install laravel 11 on Windows 11 also you can install laravel 11 on Ubuntu but the main difference is the installation of php installation.
So, let's see step by step guide: how to install laravel 11, laravel 11 install, how to install laravel on Windows 11, how to install laravel on Ubuntu 22.04, PHP 8.2 install, PHP 8.3 install.
First things first, before we jump into installing Laravel 11, ensure that you have the following prerequisites installed on your system:
- PHP (>= 8.2 recommended)
- Composer (latest version)
let's get XAMPP installed on your Windows 11 64-bit system. Here's a simple step-by-step guide:
-
Head over to the official website of XAMPP by clicking on this link: https://www.apachefriends.org/index.html.
-
Once on the official website, you'll find options to download XAMPP for various platforms including Windows, Linux, and Mac OS X. Since we're installing it on Windows 11, click on the download link corresponding to the Windows version.
-
After the download is complete, locate the downloaded XAMPP installer (it's usually an exe file) on your computer.
-
Double click on the downloaded exe file to start the installation process. This will launch the XAMPP installer.
-
Follow the on-screen instructions provided by the installer to proceed with the installation. You may be prompted to choose installation options such as the components you want to install (e.g., Apache, MySQL, PHP, etc.) and the installation directory. You can typically stick with the default settings unless you have specific preferences.
-
Once you've selected your preferred options, click on the "Install" or "Next" button to begin the installation process.
-
The installer will now start copying files and configuring the necessary components. This may take a few minutes, so please be patient.
-
Once the installation is complete, you'll see a confirmation message indicating that XAMPP has been successfully installed on your system.
Now that we have XAMPP installed, let's proceed with installing Composer on your Windows 11 system. Follow these straightforward steps:
-
Start by visiting the official Composer website. You can do this by clicking on the following link: https://getcomposer.org/download/.
-
Once on the official website, you'll find the download options for Composer. Since we want to install Composer on Windows, simply locate the download link for the Windows version and click on it.
-
Your browser will begin downloading the Composer setup file. Wait for the download to complete.
-
Once the download is finished, locate the downloaded Composer setup file on your computer. It's usually named something like "Composer-Setup.exe".
-
Double click on the setup file to start the installation process. This will launch the Composer installer.
-
Follow the on-screen instructions provided by the installer to proceed with the installation. You may be prompted to choose installation options such as the installation directory. You can typically stick with the default settings unless you have specific preferences.
-
After selecting your preferred options, click on the "Install" or "Next" button to begin the installation process.
-
The installer will now copy files and configure Composer on your system. This may take a few moments, so please be patient.
-
Once the installation is complete, you'll see a confirmation message indicating that Composer has been successfully installed on your Windows 11 system.
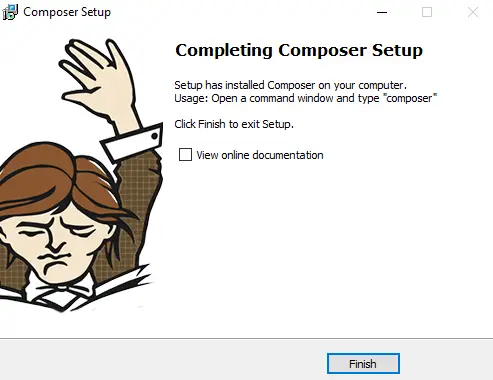
Now that we have Composer installed on your Windows 11 system, let's verify the installation to ensure everything went smoothly. Here's how you can check the Composer version:
composer --version
Now that we have XAMPP and Composer set up on your Windows 11 system, let's move on to installing Laravel 11. Follow these simple steps:
run the following command to create a new Laravel 11 project:
composer create-project --prefer-dist laravel/laravel my-laravel-11-project
Once the installation is complete, navigate into your newly created Laravel project directory:
cd my-laravel-project
Within the Laravel project directory, you can start the development server by running the following command:
php artisan serve
Output:
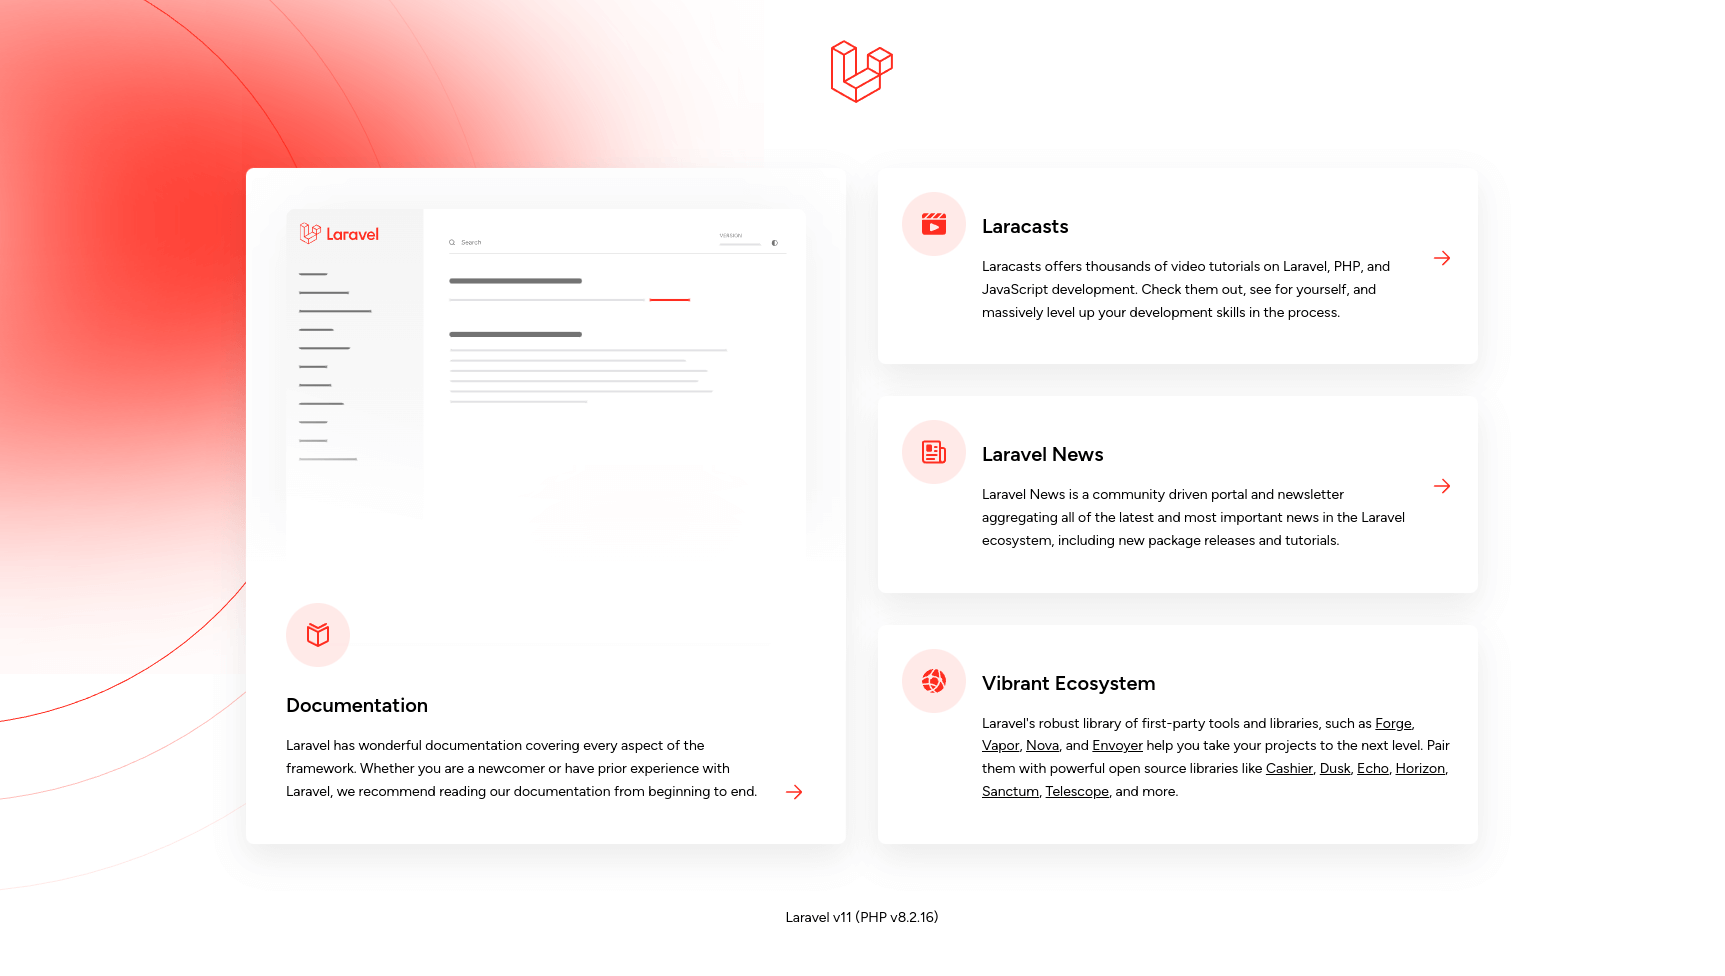
Congratulations! You've successfully installed Laravel 11 on your Windows 11 system. You're now ready to start building amazing web applications using Laravel.
You might also like:
- Read Also: Role And Permission In Laravel 9 Tutorial
- Read Also: How to Create CRUD Operation in Laravel 11
- Read Also: Node JS with Express JS and MongoDB REST API
- Read Also: Laravel 9 AJAX CRUD Operations With Popup Modal


