How to Add Row in Datatable on Click of Button
In the ever-evolving world of web applications, the ability to manipulate and dynamically update data tables is a fundamental requirement. Enter DataTables, a versatile jQuery plugin that provides a powerful toolkit for handling tabular data with ease. One of the key functionalities DataTables offers is the ability to add, update, and remove rows seamlessly, making it a vital tool for interactive data-driven web applications.
In this comprehensive guide, we will delve into the DataTables API methods for adding and manipulating rows. Specifically, we'll explore the row.add(), rows.add(), and row().remove() methods.
Whether you're a seasoned web developer looking to enhance your data presentation or a newcomer seeking to grasp the intricacies of DataTables, this article is designed to provide you with a step-by-step roadmap, complete with practical code examples.
We'll uncover how to utilize these DataTables methods effectively to insert new rows into your table, update existing data, or remove unwanted entries—all without the need for complex JavaScript code.
By the end of this tutorial, you'll have the knowledge and confidence to harness the full potential of DataTables for dynamic data manipulation in your web projects.
Let's embark on this journey to master the art of adding and manipulating rows with DataTables.
Let's see the jquery data table add a row on button click, how to add a row in data table using jquery, row.add data table, row data in data table.
Ensure you have a web application or webpage where you want to integrate DataTable. Make sure you have included the necessary dependencies, including jQuery, DataTables. You can include these libraries via CDNs or install them using npm or yarn.
https://cdn.datatables.net/1.13.6/css/jquery.dataTables.min.css
Create a data table in your HTML. For example. Also, add button for add row into the datatable.
<p><button id="addRow">Add new row</button></p>
    <table id="example" class="display" style="width:100%">
        <thead>
            <tr>
                <th>Column 1</th>
                <th>Column 2</th>
                <th>Column 3</th>
                <th>Column 4</th>
                <th>Column 5</th>
            </tr>
        </thead>
        <tfoot>
            <tr>
                <th>Column 1</th>
                <th>Column 2</th>
                <th>Column 3</th>
                <th>Column 4</th>
                <th>Column 5</th>
            </tr>
        </tfoot>
    </table>
Include the DataTables library and initialize the table in your JavaScript code. Make sure you have jQuery and DataTables loaded as well.
<script src="https://code.jquery.com/jquery-3.6.0.min.js"></script>
<script src="https://cdn.datatables.net/1.11.5/js/jquery.dataTables.min.js"></script>
<script>
function addNewRow() {
    table.row
        .add([
            counter + '.1',
            counter + '.2',
            counter + '.3',
            counter + '.4',
            counter + '.5'
        ])
        .draw(false);

    counter++;
}

const table = new DataTable('#example');
let counter = 1;

document.querySelector('#addRow').addEventListener('click', addNewRow);

// Automatically add a first row of data
addNewRow();
</script>
You've successfully created a DataTable that allows you to add rows using DataTables' API methods. This dynamic capability is useful for interactive data-driven web applications where data changes frequently.
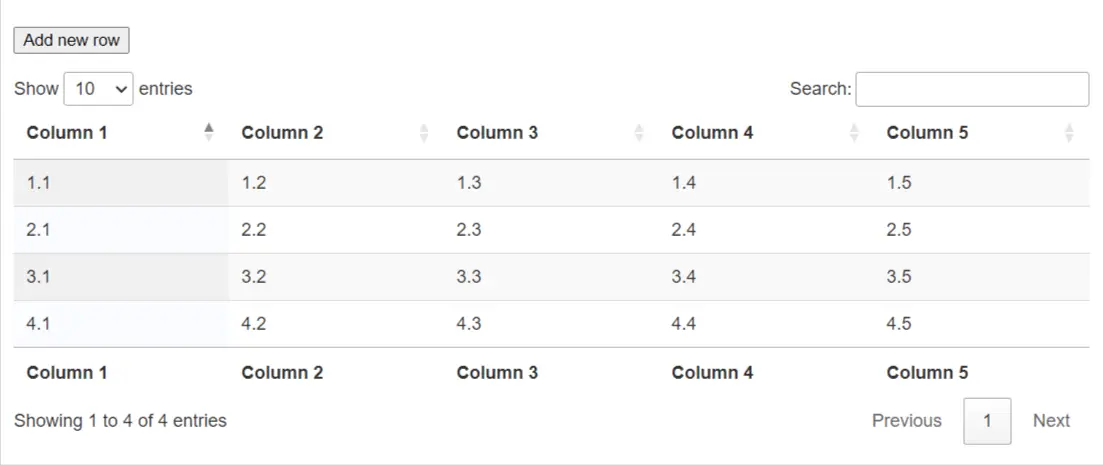
Output:
You might also like:
- Read Also: Laravel Datatables Localization Example
- Read Also: How to Integrate Datatable with Highcharts
- Read Also: Disable Sorting On Specific Columns In Datatable
- Read Also: How to Add and Delete Rows Dynamically using jQuery


